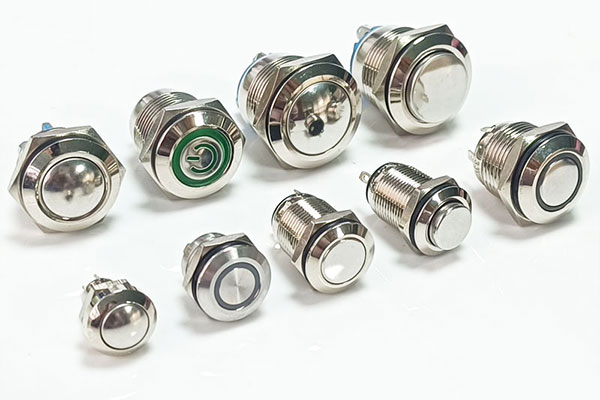
Wiring a metal push button switch is a straightforward process, but it's essential to follow proper wiring practices to ensure safe and reliable operation. Here's a step-by-step guide on how to wire a metal push button switch:

Step 1: Gather Necessary Tools and Materials
Before you begin, make sure you have the following tools and materials:
1. Metal push button switch
2. Wire (appropriate gauge for your application)
3. Wire strippers
4. Screwdriver (if applicable)
5. Soldering iron and solder (if soldering connections)
Step 2: Determine Wiring Configuration
Identify the wiring configuration required for your specific application. Metal push button switches typically have terminals labeled as "NO" (Normally Open) and "COM" (Common) or "NC" (Normally Closed) and "COM." Determine whether you need a normally open or normally closed circuit.
Step 3: Prepare the Wires
Strip a small portion of insulation from the ends of the wires using wire strippers. Make sure to strip enough insulation to expose sufficient wire for secure connections to the switch terminals.
Step 4: Connect the Wires to the Switch
If your switch has screw terminals:
1. Loosen the terminal screws using a screwdriver.
2. Insert the exposed end of the wire into the appropriate terminal (NO, COM, or NC).
3. Tighten the terminal screws securely to ensure a reliable connection.
If your switch requires soldering:
1. Heat the soldering iron to the appropriate temperature.
2. Tin the exposed ends of the wires by applying a small amount of solder to them.
3. Heat the terminal on the switch and apply solder to create a secure connection between the wire and the terminal. Repeat this process for each wire.
Step 5: Test the Connection
Once you've connected the wires to the switch, perform a continuity test to ensure proper wiring and functionality. Use a multimeter to check for continuity between the switch terminals in both the open and closed positions.
Step 6: Secure the Switch
Mount the metal push button switch securely in the desired location, ensuring it is properly aligned and firmly attached to the surface or panel.
Step 7: Complete the Circuit
Connect the other end of the wires to the appropriate components in your circuit, such as power sources, loads, or control devices, depending on your application requirements.
Step 8: Test the Circuit
After completing the wiring, test the circuit to verify that the metal push button switch functions as intended. Press the button to activate the switch and ensure that the connected components respond accordingly.
Step 9: Secure and Insulate Connections
Once testing is complete and the switch is working correctly, secure and insulate the wire connections to prevent accidental contact or short circuits.
By following these steps, you can successfully wire a metal push button switch for your specific application, ensuring safe and reliable operation in your electrical system. Remember to consult the manufacturer's instructions and safety guidelines throughout the wiring process.
Contact: Ms Bella
Phone: +86-15999819066
Tel: +86-0769-89615395
Email: Bella@fvwin.com
Add: No 25, Xinfeng East Road, Shijie Town, Dongguan, GD, CN, 523000
We chat
